| Doorlister® | 209.845.9400 |

|
|
Quickbooks® Connection ModuleOverview
You will also be able to transmit invoiced jobs through this connector. Once a job is invoiced in Doorlister®, you can simply export it to Quickbooks®: Exporting Quickbooks® Customer DataCreating an Export File from Quickbooks®
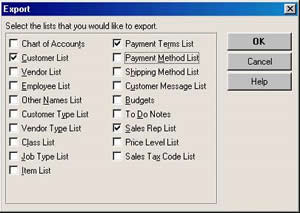
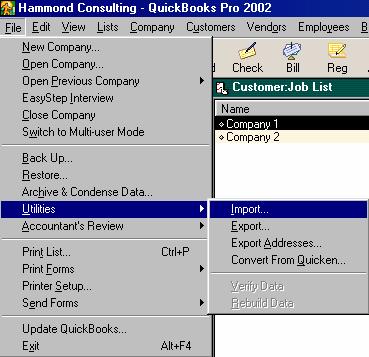
Once you are in Quickbooks®, select File -> Utilities -> Export From here you will get a screen similar to this:
Doorlister® currently supports 3 items to import from this list :
You can check one or all of the items above and click the OK button.
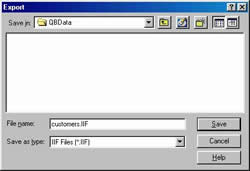
Now you will be brought to an export window. You can save the .IIF file in any directory on your system. Keep in mind it should be a directory available to Doorlister®. This example shows customer.IIF being saved into C:\Doorlister2000\QBData\
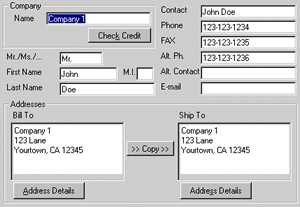
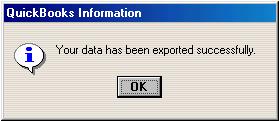
Clicking the Save button will Result in seeing this message: Now we have completed exporting your entire Quickbooks® customer list. Now we will go into Doorlister® to import the list. Importing the Export File into Doorlister®Once you are in Doorlister®, From the main menu select Customers -> Quickbooks® Data. You should see a screen like this:
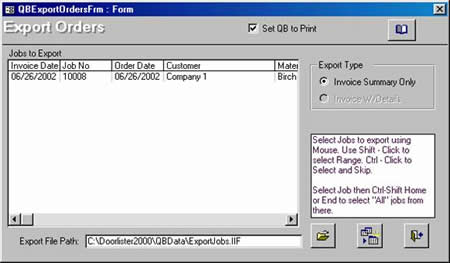
You should receive a set of messages if you selected all 3 to be imported. All your selections should be imported into Doorlister®. Once this process has happened, you can change information for each customer in either Doorlister® or Quickbooks® and then synch (update) them by performing an export/import routine. Exporting Doorlister® Invoices into Quickbooks®Creating an Export File from Doorlister®Once you have jobs in Doorlister® that have had an invoice viewed or printed out, it will be allowed to export to Quickbooks®. In the Door Jobs, select Quickbooks® Export. The default export file path will be “C:\Doorlister2000\QBData” with the default filename being “ExportJobs.IIF”. You can change this to any directory or name if you choose too.
The account field should be setup to properly match your Quickbooks® chart of accounts. Once you have highlighted which jobs you wish to export, simply
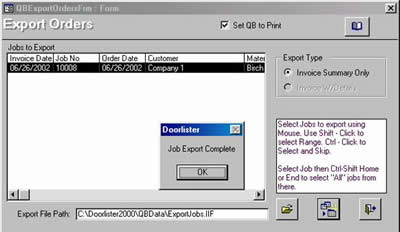
select the You should then see a screen similar to this: Now we have successfully exported the job(s) into the file “C:\Doorlister2000\QBData\ExportJobs.IIF” Importing the Export File into Quickbooks®.
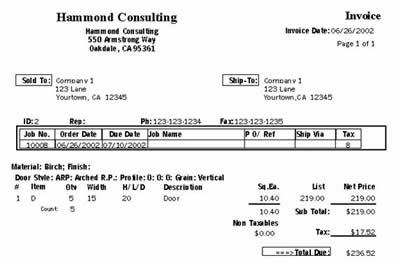
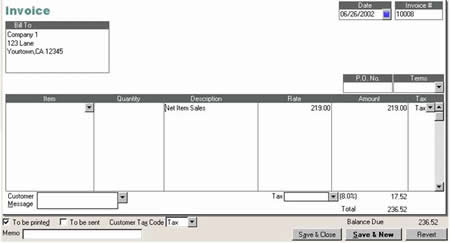
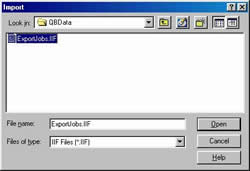
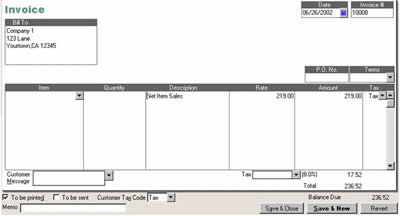
Once you are in Quickbooks®, select File -> Utilities -> Import You will then need to select the correct file name you specified when you exported the job list from Doorlister®. In this case we saved the job file to “C:\Doorlister2000\QBData\ExportJobs.IIF” Select Open when you have found the correct file name. Quickbooks® should display a message to this effect: Now if you look at the Company Navigator in Quickbooks®, you should see the jobs you had in Doorlister®. Clicking on the Blue highlighted text will bring up a more detailed Invoice.
From Quickbooks® you can now easily manage your accounting end from any invoices you create in Doorlister®. Quickbooks® Connection Module for Dovetail DrawersThe process for exporting dovetail invoices into Quickbooks® is very similar to exporting door jobs. 1) From the Dovetail Drawers Menu – select Quickbooks® Export. 3) Once you are in Quickbooks®, select File-> Utilities -> Import. Select the correct file and click on OK. This should bring up a confirmation saying “Your data has been imported.” 4) Your dovetail drawer jobs should now be imported into Quickbooks®. |

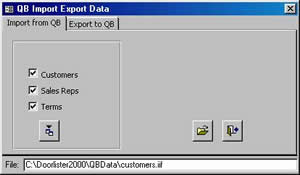 Select which fields you would like to have imported using the
checkboxes.
Select which fields you would like to have imported using the
checkboxes. 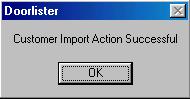
|
© 1987-2020 |
|
|