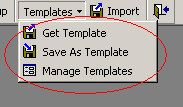
Available from the Toolbar when adding/editing a job is the "Templates" menu. Templates allow Job Specifications and items (Doors, Drawer Fronts, extras etc.) to be stored for future use when creating a Job. Once a template is saved, it can be used in the future as the starting point of a job. Templates are saved with a name and are associated with customers by use of the Customer ID (Cust ID) field.
Save As Templates
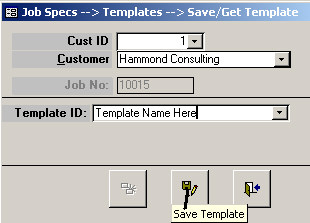
Once a job is created, you may use the "Save As Template" menu selection to save the current job as a template for future use. Simply type in the name for the template and then select the "Save Template" button and it will be saved for future use. If you select a name that already exists, then you will be given an opportunity to replace the existing template with that name with one created using the current job.
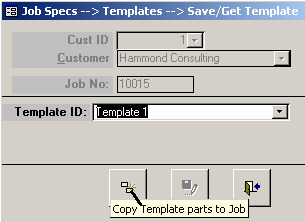
When creating a new job or editing an existing Job, make sure a Customer is selected for the job and then you may use the "Get Template" pull down menu choice, to copy the Job Specs and Parts from an existing Template.
The Manage Templates menu selection, provides a form that allows deleting entire templates or deleting parts from existing templates. You may also use this form to change the name of an existing template or change the Customer that a template is associated with.
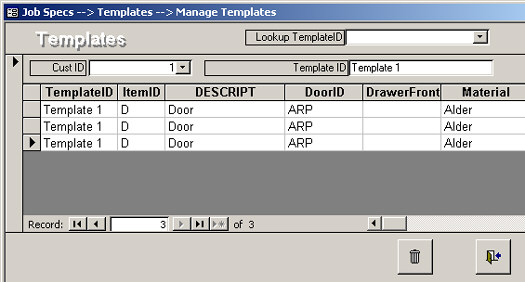
· Lookup TemplateID: Use this combo box to change the currently displayed Template information.
· Template ID: Use this text box to change the name of an existing template.
· Cust ID: Use this text box to change the Customer that this template is associated with.
· Trash Can icon: Selecting the trash can icon provides a method of completely deleting a template
· Deleting item(s) from a template: You may select one or more items from the detail section of the template form by selecting the gray rectangle to the left of the detailed list. Once selected, use the Delete key (not the trashcan) to delete the specific items from the template.
Note that there are two record navigation sets, one (the one by the bottom of the form) will move from one template to another, while the inner set moves from item to item within the template. Keep in mind also that you may use the AZ and ZA sorting icons on the toolbar to sort item details by selected field.